Today I'm going to share with you a tutorial that I saw floating around Pinterest, but also had to tweak for myself.
Over the past few months I have started using candles more and more. And I don't know why it took so long! Now I always have one burning in my office just because it smells so good (and I spend so many hours there a day). One thing that bothers me though, is how sometimes the candle won't burn properly. Whether it's just the candle itself or I burned it too long or not long enough, sometimes there is extra wax that won't go away no matter how long you burn it.
Another thing I love about this tutorial? I love glass jars, and this allows you to keep the beautiful ones that the candles were in! I'll be posting about this again once I get the jars decorated :) Another tutorial for another day!
1. Gather all of the unusable candles you have stored away, waiting for this project to come your way.
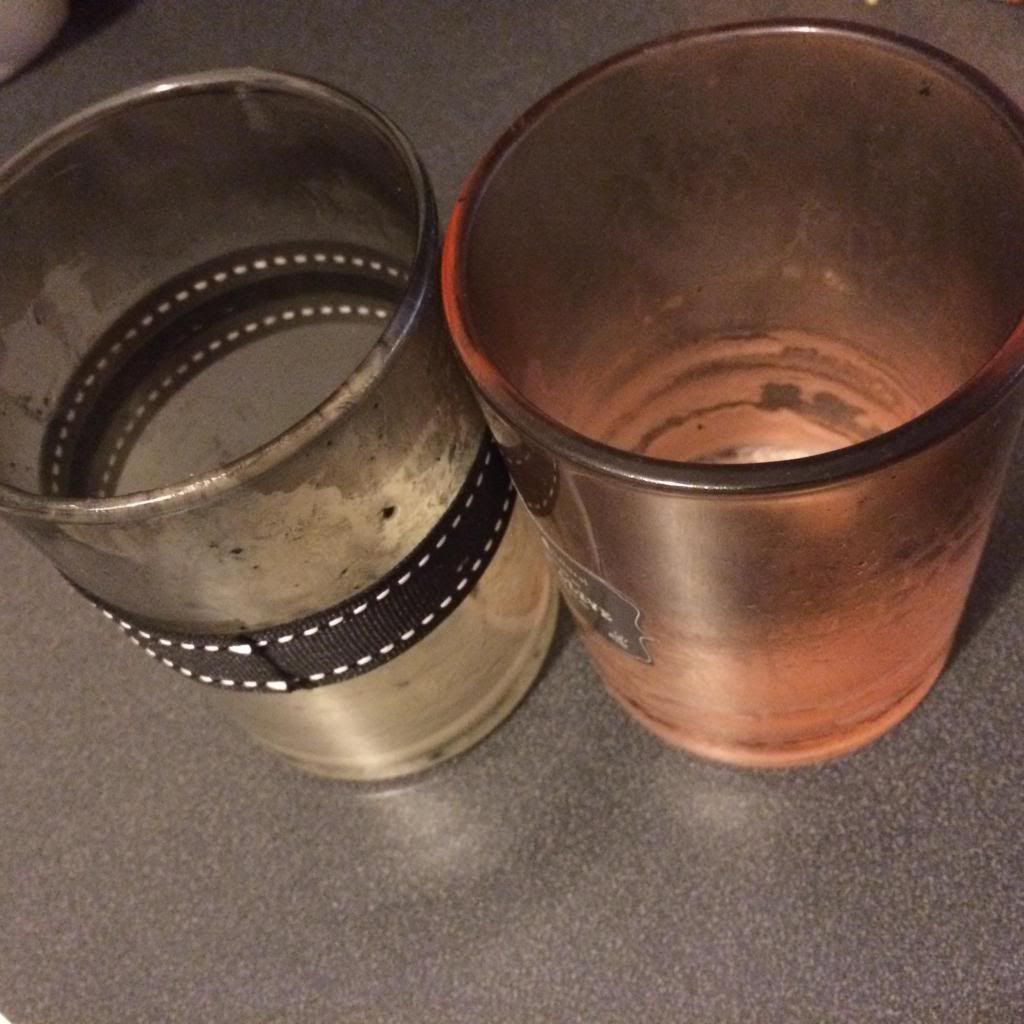 |
| eww gross, they are all sooty and have wax stuck to the bottom |
2. Set your candle down in the pan and water so that the water is around the candle but there is no water inside your candle. Turn it on about medium heat and wait for the wax to melt. While the wax is melting, find a suitable bottle or pitcher or funnel that can easily and precisely pour a liquid. I poured the last glass of Peach Mango V8 juice in a glass and rinsed out the bottle. It was thick enough that the heat won't melt it and the opening in big enough to pour from a jar into, but small enough that it still pours good. A glass measuring cup would do as well.
3. Once the wax is melted, pour directly from the hot glass jar into the V8 bottle. (Use a cup towel that you don't care about. You may get some wax on it and cooled wax doesn't come off well. I'm sure there is a tutorial for that out there somewhere. SHARE IT WITH ME!)
4. Before the wax has a chance to cool, pour the wax from the V8 bottle to an ice tray. Yes, an ice tray. You also may want to get one specifically for this. Or your ice will smell like a candle :) Use an ice tray because it makes cubes the exact perfect size for a wax warmer. (Which are regularly on sale at Hobby Lobby)
5. Let the wax in the ice tray cool overnight or longer. If you attempt to remove them too soon, they will crumble and you'll have to start over *cough*learned from experience*cough*.
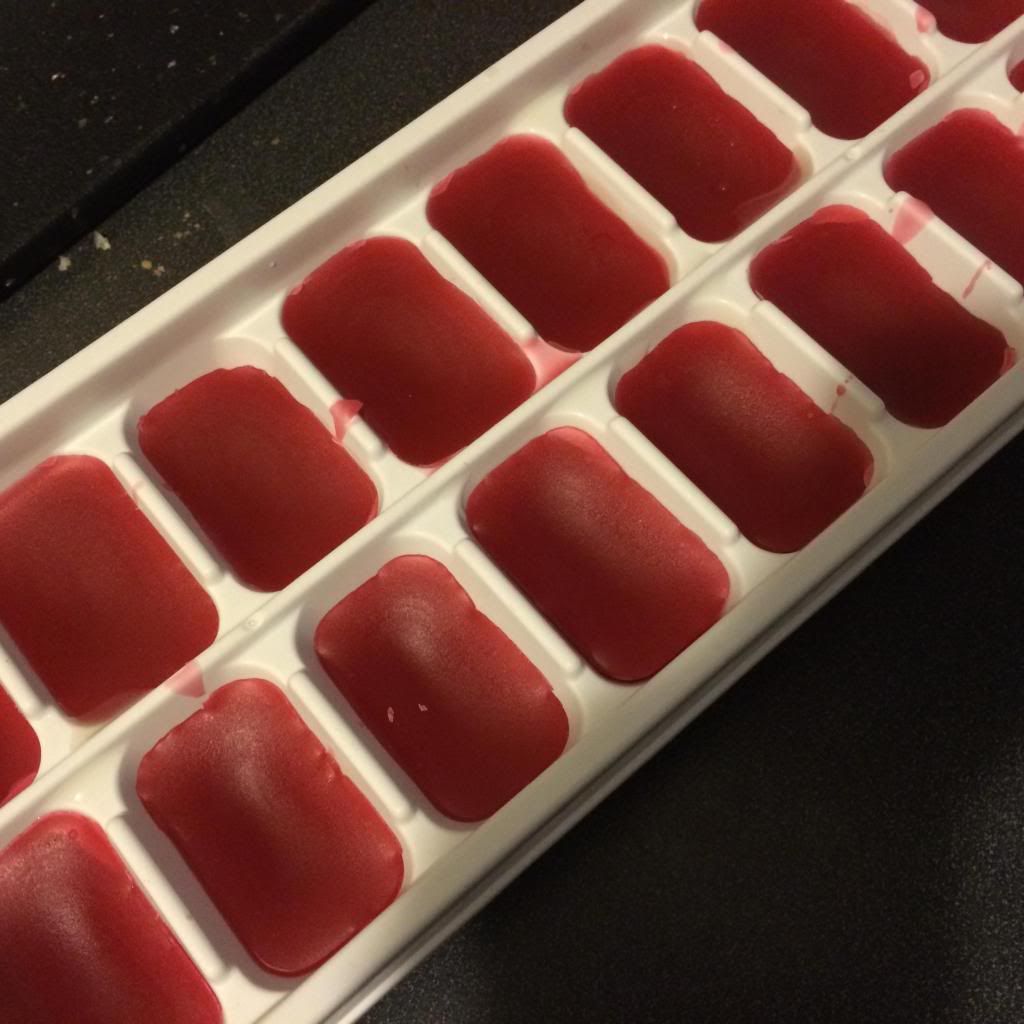
5.a. If you attempt to remove them too soon, just put the tray in the sink with about an inch of hot water, little enough so that you don't get water in the tray, for about 5 minutes then use a small rubber scraper to remove the wax and start over.
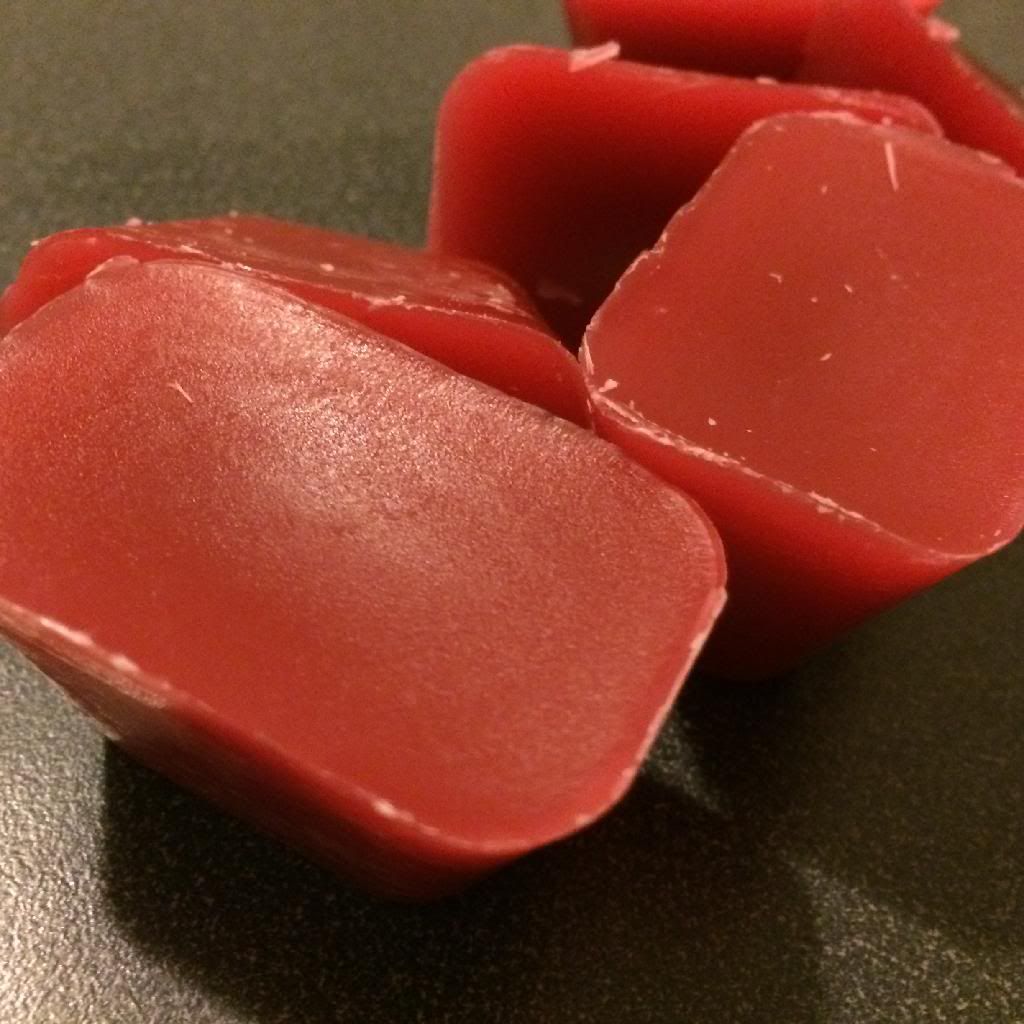
6. Once they are cool you are done! They will melt just like those wickless, wax cubes!
7. To clean your jars out thoroughly, set your candles down in the sink, boil some water and fill to the brim with boiling water. Let sit until cooled (several hours). Use a paper towel, plastic spoon, etc. to remove the wax layer that will have formed over the water. Turn the water in the sink on as hot as it will go and pour the water out of the jars. There may be a smidge of wax, that's why you want the water on scolding hot, so it won't get stuck in the pipes.
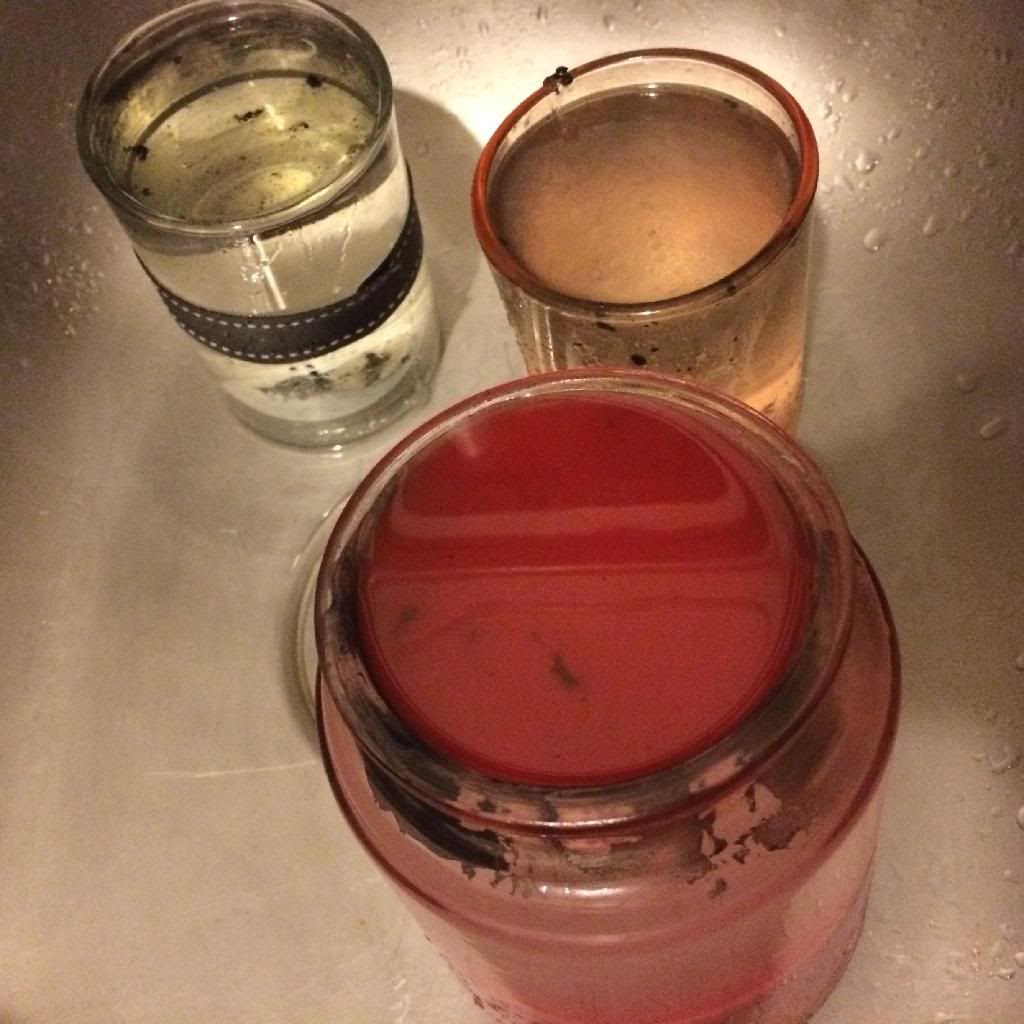 |
| See that layer of wax? You should only have that much if you skip steps 2-6. Should be a pretty thin layer. |
8. Wipe out the jars to remove all soot and any leftover wax with a paper towel then stick them in the dishwasher for one last cleaning! You're all done!
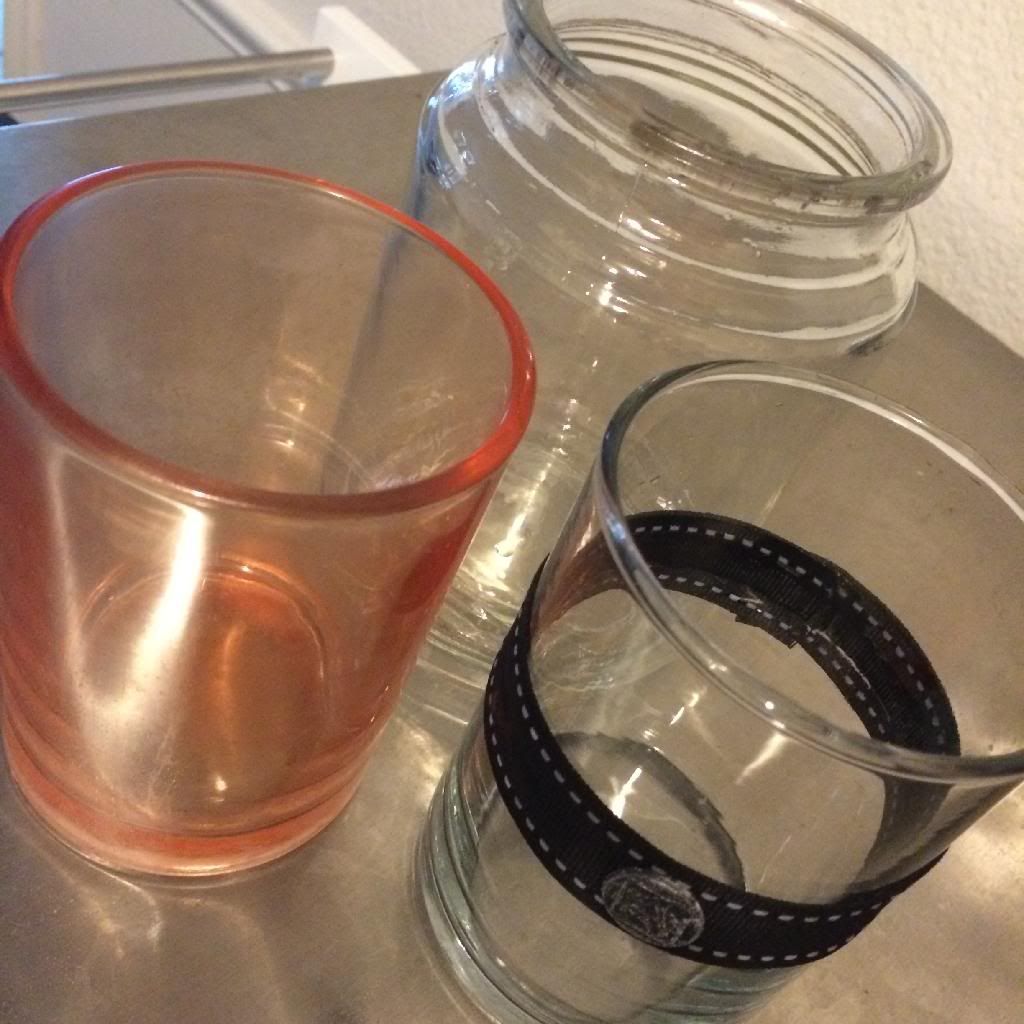
**if your candles are basically gone, you don't have to do steps 2-6 :)
Let me know if this works for you! It made my house smell amazing for days! Especially since I had 3 candles to do!
Have a great day!


