Monday, April 21, 2014

Playing With Fire

Except not really! Just the candle, unlit.

Today I'm going to share with you a tutorial that I saw floating around Pinterest, but also had to tweak for myself.

Over the past few months I have started using candles more and more. And I don't know why it took so long! Now I always have one burning in my office just because it smells so good (and I spend so many hours there a day). One thing that bothers me though, is how sometimes the candle won't burn properly. Whether it's just the candle itself or I burned it too long or not long enough, sometimes there is extra wax that won't go away no matter how long you burn it.

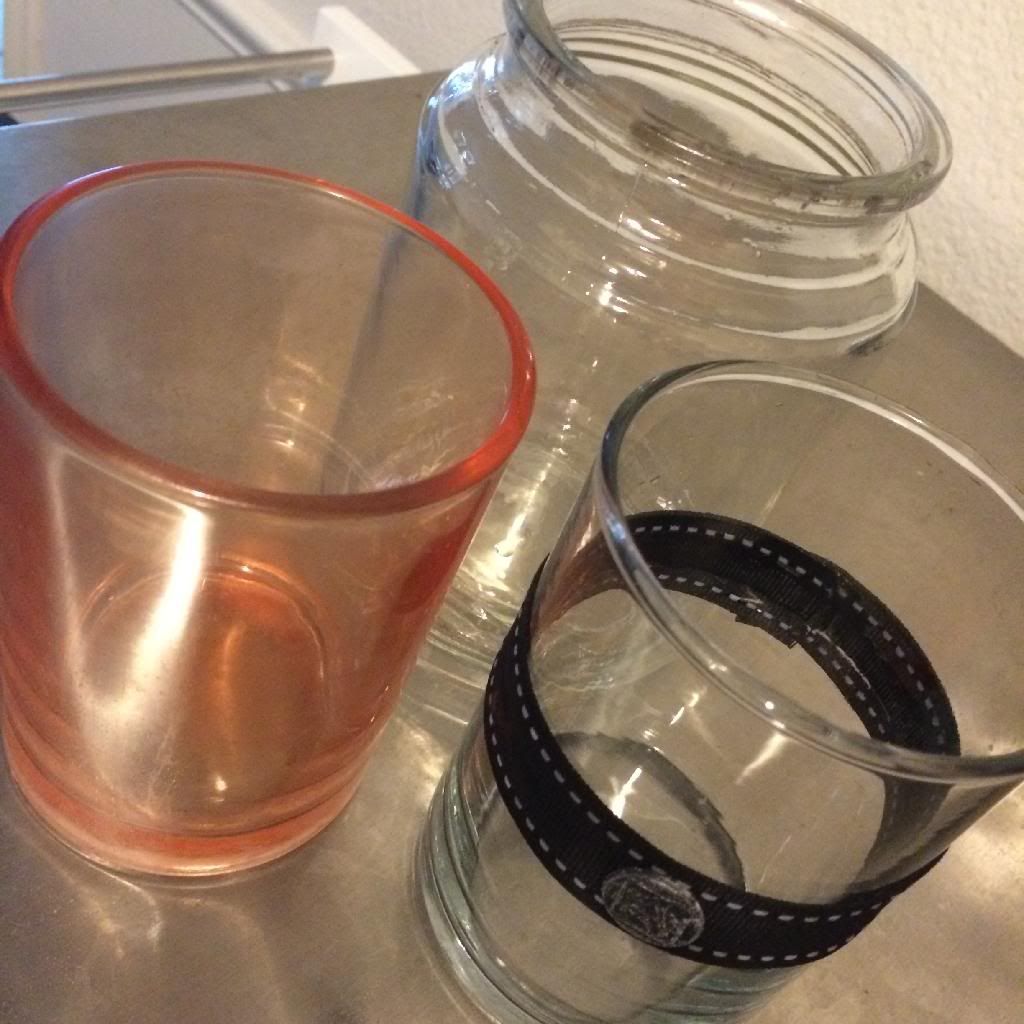
Another thing I love about this tutorial? I love glass jars, and this allows you to keep the beautiful ones that the candles were in! I'll be posting about this again once I get the jars decorated :) Another tutorial for another day!

1. Gather all of the unusable candles you have stored away, waiting for this project to come your way.

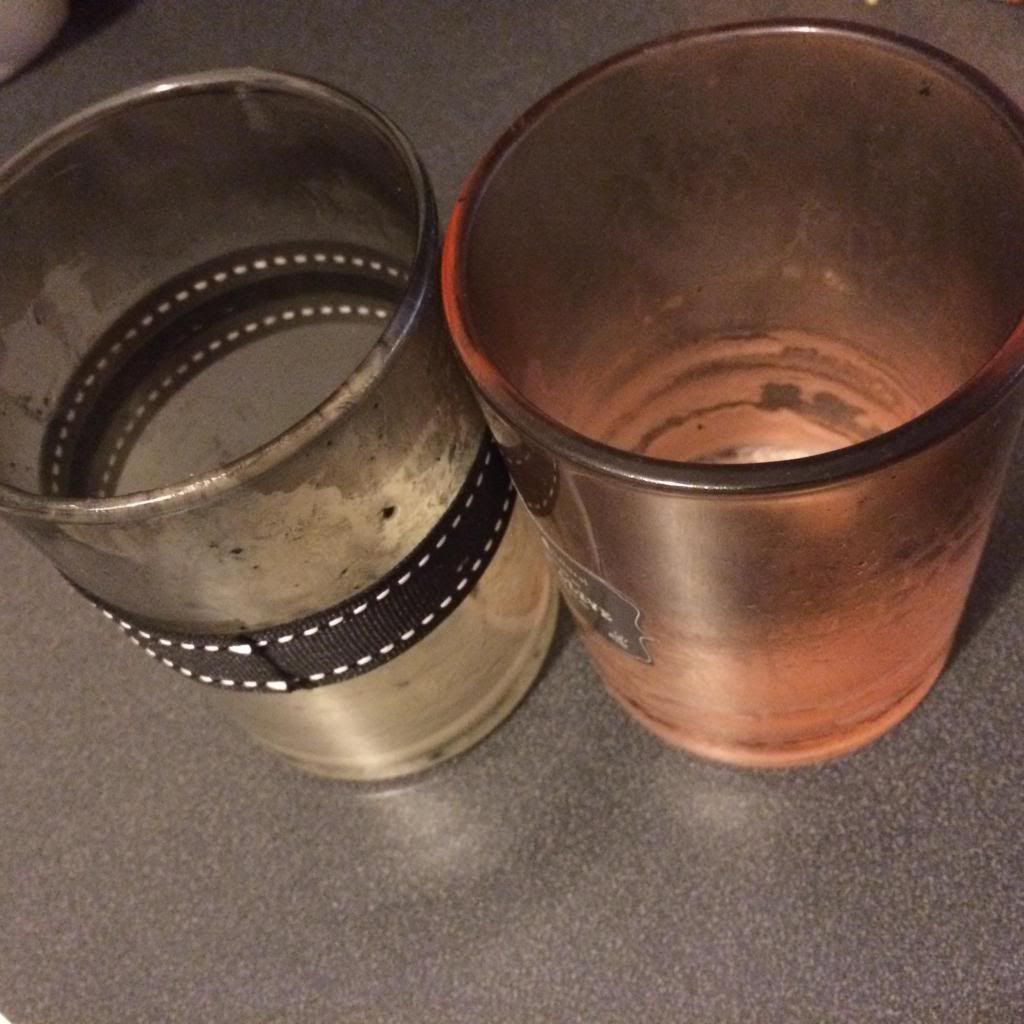
eww gross, they are all sooty and have wax stuck to the bottom
2. Set your candle down in the pan and water so that the water is around the candle but there is no water inside your candle. Turn it on about medium heat and wait for the wax to melt. While the wax is melting, find a suitable bottle or pitcher or funnel that can easily and precisely pour a liquid. I poured the last glass of Peach Mango V8 juice in a glass and rinsed out the bottle. It was thick enough that the heat won't melt it and the opening in big enough to pour from a jar into, but small enough that it still pours good. A glass measuring cup would do as well.

3. Once the wax is melted, pour directly from the hot glass jar into the V8 bottle. (Use a cup towel that you don't care about. You may get some wax on it and cooled wax doesn't come off well. I'm sure there is a tutorial for that out there somewhere. SHARE IT WITH ME!) 

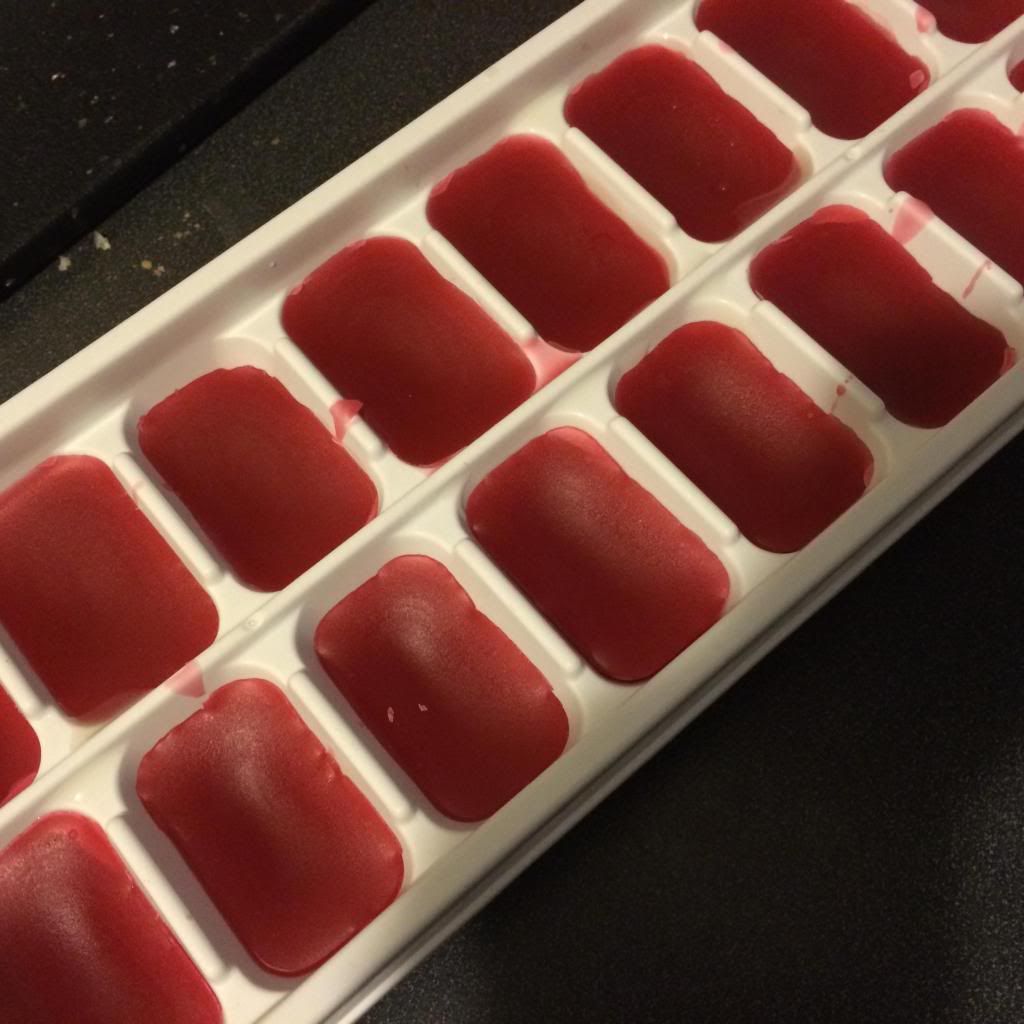
4. Before the wax has a chance to cool, pour the wax from the V8 bottle to an ice tray. Yes, an ice tray. You also may want to get one specifically for this. Or your ice will smell like a candle :) Use an ice tray because it makes cubes the exact perfect size for a wax warmer. (Which are regularly on sale at Hobby Lobby)

5. Let the wax in the ice tray cool overnight or longer. If you attempt to remove them too soon, they will crumble and you'll have to start over *cough*learned from experience*cough*. 


5.a. If you attempt to remove them too soon, just put the tray in the sink with about an inch of hot water, little enough so that you don't get water in the tray, for about 5 minutes then use a small rubber scraper to remove the wax and start over.

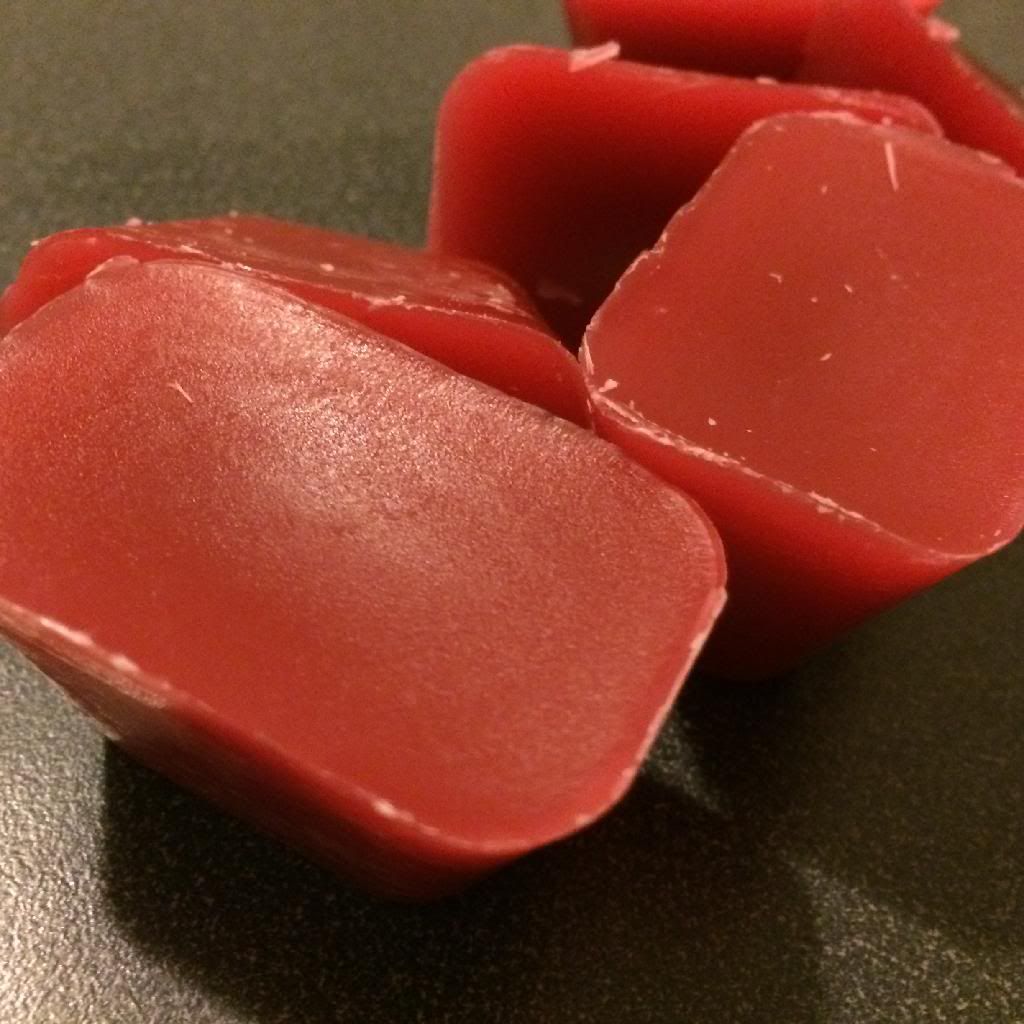
6. Once they are cool you are done! They will melt just like those wickless, wax cubes!


7. To clean your jars out thoroughly, set your candles down in the sink, boil some water and fill to the brim with boiling water. Let sit until cooled (several hours). Use a paper towel, plastic spoon, etc. to remove the wax layer that will have formed over the water. Turn the water in the sink on as hot as it will go and pour the water out of the jars. There may be a smidge of wax, that's why you want the water on scolding hot, so it won't get stuck in the pipes.

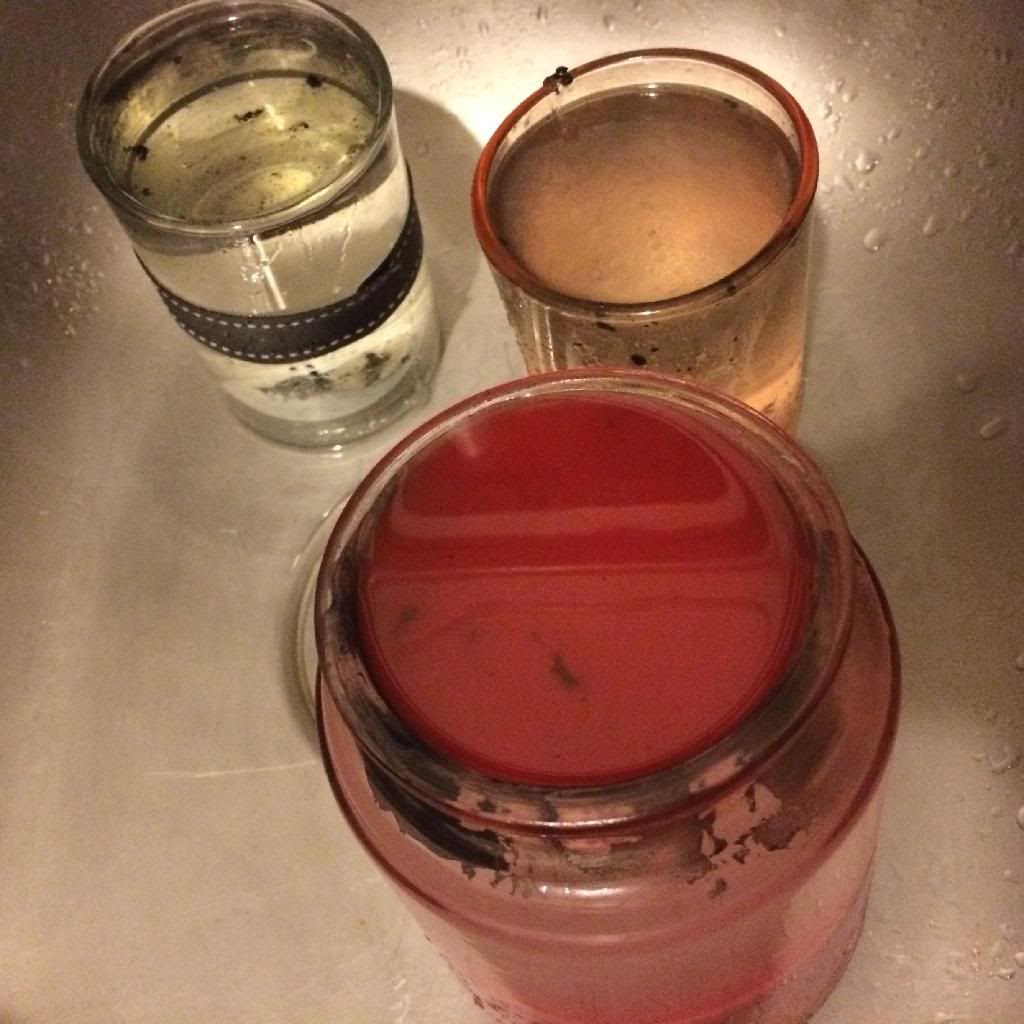
See that layer of wax? You should only have that much if you skip steps 2-6. Should be a pretty thin layer.
8. Wipe out the jars to remove all soot and any leftover wax with a paper towel then stick them in the dishwasher for one last cleaning!  You're all done!


**if your candles are basically gone, you don't have to do steps 2-6 :)

Let me know if this works for you! It made my house smell amazing for days! Especially since I had 3 candles to do!

Have a great day!

Monday, April 14, 2014

#happiest5k

The Color Run was this weekend! Can I just say that we had an absolute blast? Here are things you must do. And a few pictures!

1. Sign up for the very next Color Run that is close to you. You will not regret it!

2. Buy some cheap, super cute sunglasses. The color won't feel all that great in your eyes, so get some shades!

3. Bring your phone, for picture taking purposes. But make sure you have a case that covers the entire thing or put it in a ziplock bag. It's just smart :) (Learned by mistake!)

4. Go to the restroom before you get there. Now, this is not mandatory, but as Kayley said to us on the way, "There is a sea of porta potties" True story. Porta potties freak me out, but that's another story. It involves a Haunted House, although it has nothing to do with me.

5. Bring a change of clothes and towels to put on the seats for the ride home!

Now the fun stuff!

6. Take as many pictures as possible! There are so many opportunities! And I cannot wait to see the ones that the Color Run photographers took as well!

pre color run. my face and hair look so normal

7. Dance around in the color zones! Get as much color on you as possible, although attempt to keep your mouth closed. It's hard when you are laughing, but you may choke on color....hahahahaha and it will turn your teeth blue. Good times.


8. Do snow angels in the color zones. I'm telling you, the color zones are a blast, lay on the ground and do snow angels. At first you will get funny looks but then everyone else will join you. Same with jumping around. It's a blast.

post snow angels and color sprayed in our faces
9. This is probably the most prime event and location for selfies. And no one is going to look at you funny, because they are all doing it!

blue was such a pretty color
10. HAVE FUN! If you are a serious runner, this is not the run to beat your best time. There are like 15,000 people, and you probably will have a hard time running the whole time. So bring a group of friends, walk/run/dance/jump/skip and just have a blast. It will be the #happiest5k ever.

**Also, please go eat in public afterwards. The looks are so worth it. And you will be so happy you will probably brighten someone's day!

photo courtesy of Tracey, taken by that special person who had the privilege of taking our picture


Friday, April 11, 2014

Jute + Glitter + Monogram

Happy Friday!

As you all probably know by now, I love glitter. And this glitter spray paint has been one of my favorite finds!

Today I'm going to share with you a quick tutorial that you can personalize to add a little something to your office or door!

I originally found this tutorial here so please visit her blog for the full tutorial!

Here are the supplies I used, added the glitter of course! (I apologize for the picture quality, multitasking. Plus this is my craft table, so it's a bit scuffed up!)


Paper Machete Letter- $2.49
Jute- $2.99 (but will last forever!)
Glitter Blast- $7.99x40% off coupon = $4.79
Fabric flowers- already had (I think $3)
Glue gun and glue- already had

Pretty inexpensive DIY!

After securing the jute, I sprayed the letter with one coat of the bronze glitter, let it dry outside (so your house doesn't smell like spray paint) for about an hour then glued the flowers on! 


I bet this would look good with colored twine as well! Three of my favorite crafting materials, twine/jute, glitter and flowers! Enjoy! 

Monday, April 7, 2014

Spring is Here!

As you know, I absolutely love wreaths. Winter has taken it's time leaving, but I decided regardless of weather, April needed a new wreath! Maybe now this spring weather will be around for good :)

This is the wreath I made for our front door--and I would be happy to make one for you, with any flower you like! Check out the Facebook Page for more details and to order!


I'm making one for a friend that will be pink daisies and tulips mixed, I can't wait to share it!

This is another spring wreath that we made for a United Way campaign. So bright! I love it!


Like many people, I absolutely love Pinterest and the crafty inspiration I get from browsing through wreaths and other things! I have several wreath boards, go check them out! I'd love to make a wreath for you!

I have a DIY to share with you later this week! So check back!

Tuesday, April 1, 2014

Update Your Desktop!

Happy April! I am so happy that spring seems finally to be here to stay. I really enjoy changing my desktop wall paper regularly. Usually I choose one that has a calendar so I have to change it monthly! (As if an excuse is needed) Here are a few of my favorites to brighten your computer this month!

Shop Ruche is always a pretty good choice. March's background was beautiful, and I like April as well. (You can go to their website to get the full size version!)


Sugar Paper is another great website, and all of these come in a mobile version too! They also have really neat stationary.


Enjoy! Do you have a website that you go to for desktop wallpapers? Or do you create your own? (I've considered that!)


Friday, March 28, 2014

Glitterize It!

So a couple of months ago a came across this DIY post over at The Kinch Life and loved it. (I actually would like to sell this mirror to someone who has a perfect location for it, so let me know!)

Since I got this idea from Aubrey, here is the supplies she used that I used as well! Except I used a mirror instead of an ampersand.

Link
Not too long after that, Kayley and I went to an Estate Sale and came across this gem. Forgive my pictures, I should have done better but I started this after it was already dark outside and I don't have a good inside location for pics.


It was only $20, and it has the perfect frame for painting!! Anytime you see an estate sale or garage sale, stop and check it out. You never know what you'll find that can be painted/accessorized/cleaned up! 


My biggest question when doing this was the ratio of mod podge to glitter. The first coat (that thin part in the middle) was the first coat, and I didn't have enough glitter. You basically have to make it super thick so that the glitter covers the entire thing. 


This is the mixture that worked the best. I didn't measure so I can't actually tell you how much of each to put.


After only one thin coat and one good coat, this is the finished product!


And here it is up close. Note that it actually looks smooth. That glitter dust around the edges is dried that fell off as I was painting.


In case you are like me and like to paint glue on your hand to peel it off, this is the correct ratio of Mod Podge to Glitter.

Have you tried anything like this? I love DIY projects and so glad I came across this one!

Thursday, March 20, 2014

Bring Joy


When I created this, I thought it would be mostly crafty things, but I think I will share some inspirations with you as well. I have a friend that I work closely with, we both work for non profits, so we go to many of the same events, meetings, etc. Almost every day she posts a picture on Facebook and asks "What brought you joy today?". While I don't always answer on her post, it does make me think about what has happened during the day and how I may have brought joy and faith to others.

Earlier this week a group of us went to deliver our Business of the Month prize, as we have been doing the last few months. This time was unique. It was an older man who worked out of his home. His wife had been in the hospital for several months and had come home only a few days before. He was incredibly surprised when we showed up, but not only that, our visit brought joy to his day. He was grateful for the recognition but blessed to have a few people to talk to. As we listened to his story, we all started tearing up, because he was just so happy that his wife was on the road to recovery.

I say all that to say this, you never know what people are going through or how you are able to impact their day. Go out of your way, bring joy, and speak faith. We are blessed.